-
 4e33d489
Beyond the Basics
In :ref:`beaglebone-cookbook-basics`, you learned how to set up BeagleBone Black, and :ref:`beaglebone-cookbook-sensors`, :ref:`beaglebone-cookbook-displays`, and :ref:`beaglebone-cookbook-motors` showed how to interface to the physical world. The remainder of the book moves into some more exciting advanced topics, and this chapter gets you ready for them.
The recipes in this chapter assume that you are running Linux on your host computer (:ref:`tips_pick_os`) and are comfortable with using Linux. We continue to assume that you are logged in as debian on your Bone.
Running Your Bone Standalone
Problem
You want to use BeagleBone Black as a desktop computer with keyboard, mouse, and an HDMI display.
Solution
The Bone comes with USB and a microHDMI output. All you need to do is connect your keyboard, mouse, and HDMI display to it.
To make this recipe, you will need:
- Standard HDMI cable and female HDMI-to-male microHDMI adapter, or
- MicroHDMI-to-HDMI adapter cable
- HDMI monitor
- USB keyboard and mouse
- Powered USB hub
Note
The microHDMI adapter is nice because it allows you to use a regular HDMI cable with the Bone. However, it will block other ports and can damage the Bone if you aren't careful. The microHDMI-to-HDMI cable won't have these problems.
Tip
You can also use an HDMI-to-DVI cable and use your Bone with a DVI-D display.
The adapter looks something like :ref:`tips_HDMI_adaptor_fig`.
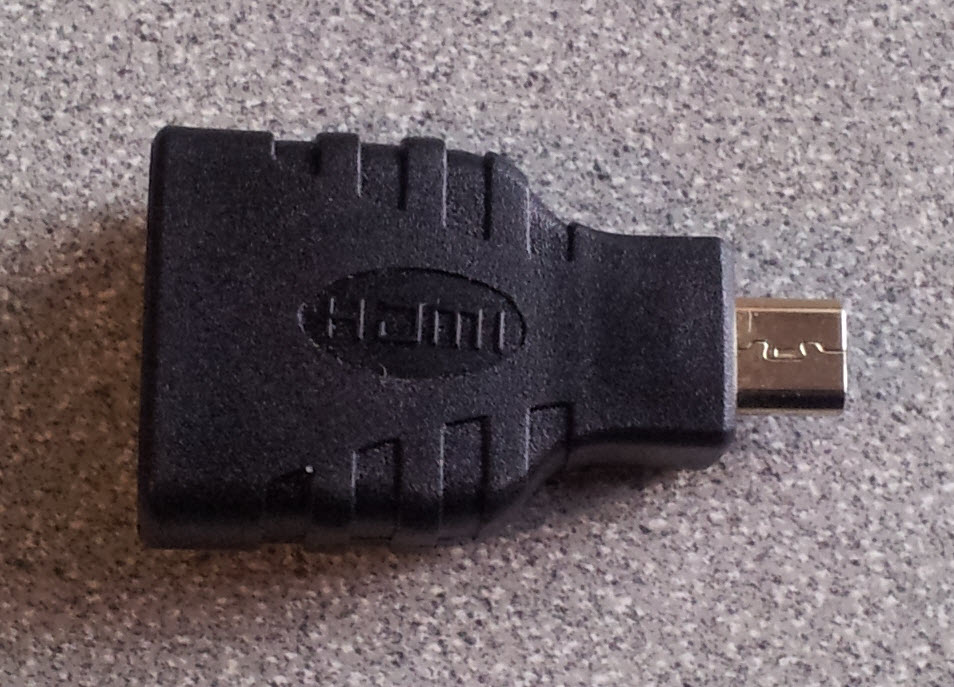
Female HDMI-to-male microHDMI adapter
Plug the small end into the microHDMI input on the Bone and plug your HDMI cable into the other end of the adapter and your monitor. If nothing displays on your Bone, reboot.
If nothing appears after the reboot, edit the /boot/uEnv.txt file. Search for the line containing
disable_uboot_overlay_video=1 and make sure it's commented out:
###Disable auto loading of virtual capes (emmc/video/wireless/adc)
#disable_uboot_overlay_emmc=1
#disable_uboot_overlay_video=1
Then reboot.
The /boot/uEnv.txt file contains a number of configuration commands that are executed at boot time.
The # character is used to add comments; that is, everything to the right of a +# is ignored by the
Bone and is assumed to be for humans to read. In the previous example, ###Disable auto loading is
a comment that informs us the next line(s) are for disabling things. Two disable_uboot_overlay
commands follow. Both should be commented-out and won't be executed by the Bon
Why not just remove the line? Later, you might decide you need more general-purpose input/output
(GPIO) pins and don't need the HDMI display. If so, just remove the # from the disable_uboot_overlay_video=1
command. If you had completely removed the line earlier, you would have to look up the details somewhere to re-create it.
When in doubt, comment-out don't delete.
Note
If you want to re-enable the HDMI audio, just comment-out the line you added.
The Bone has only one USB port, so you will need to get either a keyboard with a USB hub or a USB hub. Plug the USB hub into the Bone and then plug your keyboard and mouse in to the hub. You now have a Beagle workstation no host computer is needed.
Tip
A powered hub is recommended because USB can supply only 500 mA, and you'll want to plug many things into the Bone.
This recipe disables the HDMI audio, which allows the Bone to try other resolutions. If this fails, see BeagleBoneBlack HDMI for how to force the Bone's resolution to match your monitor.
Selecting an OS for Your Development Host Computer
Problem
Your project needs a host computer, and you need to select an operating system (OS) for it.
Solution
For projects that require a host computer, we assume that you are running Linux Ubuntu 20.04 LTS. You can be running either a native installation, through Windows Subsystem for Linux, via a virtual machine such as VirtualBox, or in the cloud (Microsoft Azure or Amazon Elastic Compute Cloud, EC2, for example).
Recently I've been prefering Windows Subsystem for Linux.
Getting to the Command Shell via SSH
Problem
You want to connect to the command shell of a remote Bone from your host pass:[<span class="keep-together">computer</span>].
Solution
:ref:`basics_vsc_IDE` shows how to run shell commands in the Visual Studio Code bash tab. However, the Bone has Secure Shell (SSH) enabled right out of the box, so you can easily connect by using the following command to log in as user debian, (note the $ at the end of the prompt):
host$ ssh debian@192.168.7.2
Warning: Permanently added 'bone,192.168.7.2' (ECDSA) to the list of known hosts.
Last login: Mon Dec 22 07:53:06 2014 from yoder-linux.local
bone$
debian has the default password tempped It's best to change the password:
bone$ passwd
Changing password for debian.
(current) UNIX password:
Enter new UNIX password:
Retype new UNIX password:
passwd: password updated successfully
Getting to the Command Shell via the Virtual Serial Port
Problem
You want to connect to the command shell of a remote Bone from your host computer without using SSH.
Solution
Sometimes, you can't connect to the Bone via SSH, but you have a network working over USB to the Bone. There is a way to access the command line to fix things without requiring extra hardware. (:ref:`tips_FTDI` shows a way that works even if you don't have a network working over USB, but it requires a special serial-to-USB cable.)
First, check to ensure that the serial port is there. On the host computer, run the following command:
host$ ls -ls /dev/ttyACM0
0 crw-rw---- 1 root dialout 166, 0 Jun 19 11:47 /dev/ttyACM0
/dev/ttyACM0 is a serial port on your host computer that the Bone creates when it boots up.
The letters crw-rw---- show that you can't access it as a normal user. However, you can
access it if you are part of dialout group. See if you are in the dialout group:
host$ groups
yoder adm tty uucp dialout cdrom sudo dip plugdev lpadmin sambashare
Looks like I'm already in the group, but if you aren't, just add yourself to the group:
host$ sudo adduser $USER dialoutYou have to run adduser only once. Your host computer will remember the next time you boot up. Now, install and run the screen command:
host$ sudo apt install screen
host$ screen /dev/ttyACM0 115200
Debian GNU/Linux 7 beaglebone ttyGS0

default username:password is [debian:temppwd]

Support/FAQ: http://elinux.org/Beagleboard:BeagleBoneBlack_Debian

The IP Address for usb0 is: 192.168.7.2
beaglebone login:
The /dev/ttyACM0 parameter specifies which serial port to connect to, and 115200
tells the speed of the connection. In this case, it's 115,200 bits per second.
Viewing and Debugging the Kernel and u-boot Messages at Boot Time
Problem
You want to see the messages that are logged by BeagleBone Black as it comes to life.
Solution
There is no network in place when the Bone first boots up, so :ref:`tips_shell` and :ref:`tips_serial` won't work. This recipe uses some extra hardware (FTDI cable) to attach to the Bone's console serial port.
To make this recipe, you will need:
- 3.3 V FTDI cable
Warning
Be sure to get a 3.3 V FTDI cable (shown in :ref:`tips_FTDIcable_fig`), because the 5 V cables won't work.
Tip
The Bone's Serial Debug J1 connector has Pin 1 connected to ground, Pin 4 to receive, and Pin 5 to transmit. The other pins are not attached.

FTDI cable
Look for a small triangle at the end of the FTDI cable (:ref:`tips_FTDIconnector_fig`). It's often connected to the black wire.